A Bit About Set-In Sleeves
Once again, I've been MIA. I've been working on the imminent issue of Knitty, and not much else. Well, some social life and lots of nice time with Zak, but not much else beyond that. Oh, and some knitting. And I bought yarn, which I've done almost not at all this year until now. But really, that's it. Oh, wait - did I mention this?
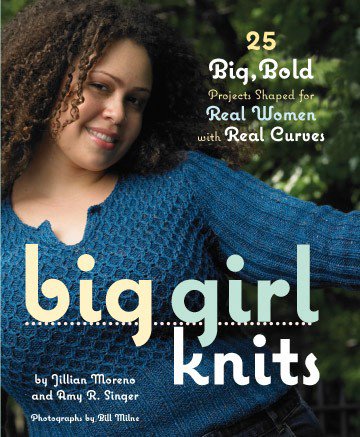
The book that ate my entire summer (I was tech editor). But oh, just you wait. Big Girl Knits is a fantastic book, the designs are beautiful and diverse, and Amy and Jillian have put together some excellent, friendly chapters on fitting and alterations. (Possibly I helped with those too.) It was a great way to spend the summer, actually. I'm proud and grateful to have been part of this project. :)
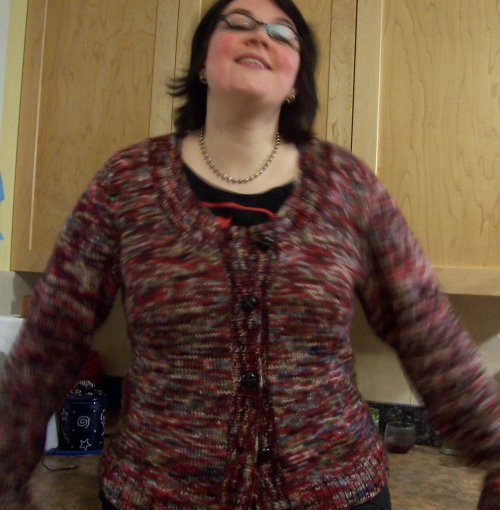
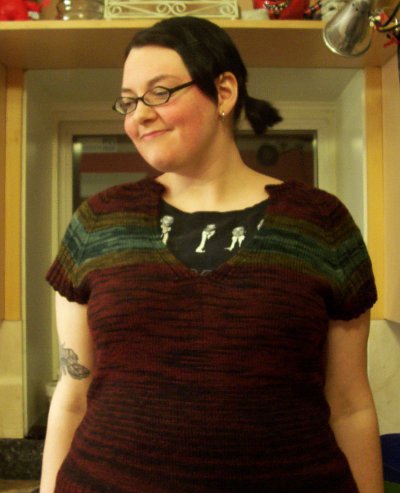
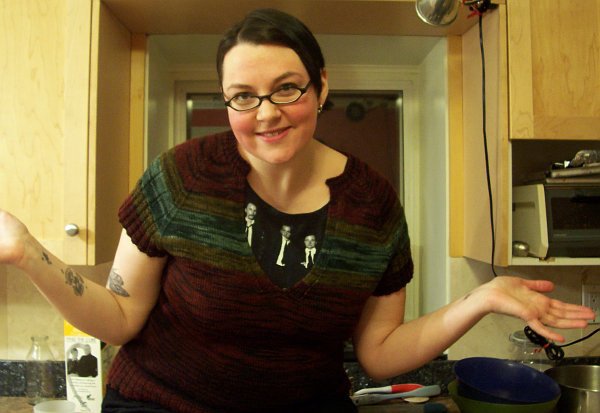
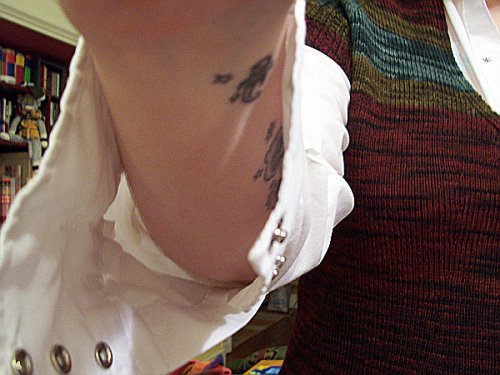
Anyways. Some of you asked about the technique of knitting a seamless set-in sleeve sweater from the top down. First of all, I highly, highly recommend Knitting from the Top. Buy it, buy it. It's even cheap. (I'm sure Amazon has it too, but I really like Needle Arts Book Shop, so I link to them.) It explores several different methods for knitting a sweater this way.
The quick and dirty explanation of what I did was this:
1. Decide how many sts around you want your sleeve to be.
2. Cast on sts for the shoulders, and knit the front and back pieces down from the shoulder until there are enough rows that you can pick up 1/3 of your sleeve sts along the armhole edges (3 sts for every 4 rows).
3. Knit a RS row across the left front, place a marker, pick up sts along the left armhole edge, place a marker, k across the back, place a marker, pick up sts along the right armhole edge, place a marker, k across the right front.
4. Work back and forth, increasing 1 st at each edge of each sleeve every RS row, until you are a couple of inches from the bottom of the armhole; then start increasing 1 st at the armhole edges of the fronts and back on RS rows as well.
5. When your armholes are deep enough, cast on sts at the underarms and work either the body or the sleeves down until they're done. Pick up 1 st in each cast on st (and whatever extra fudging sts are necessary) and work the sleeves or body.
Of course, it ends up being a little more complicated than that... because, you know, you have to figure out how deep your armhole will be, and how many sleeve sts that translates to, etc etc. It didn't end up taking that long to work out the sweater on paper, but I have a lot of practice because that's what I do for Knitty. The way Barbara Walker explains it, though, is nice and clear and not intimidating. She is more kind to the math-phobic than I would be if I explained it.
There's a less complicated way to do it (seamless, though not in one piece in the same way), but you'll have to buy the book for that. Or, you can buy the pattern for Hopeful and see how it's done, because that's the method Jenna uses in her pattern. (I edited this pattern for Jenna, too. I got around this summer, it seems.)
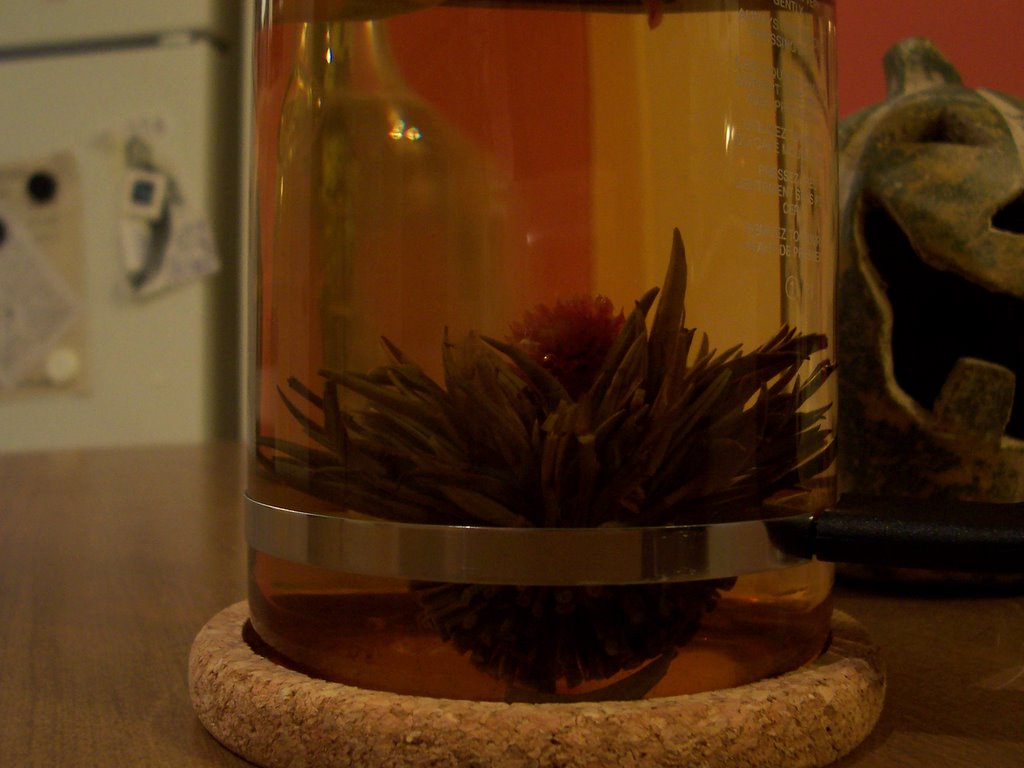
And now, a photo of some of the things that make my life nice.
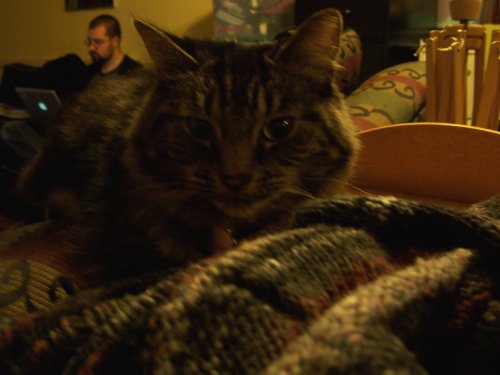
The End.
posted by Mandy @ 6:08 a.m.
7 comments
![]()
![]()